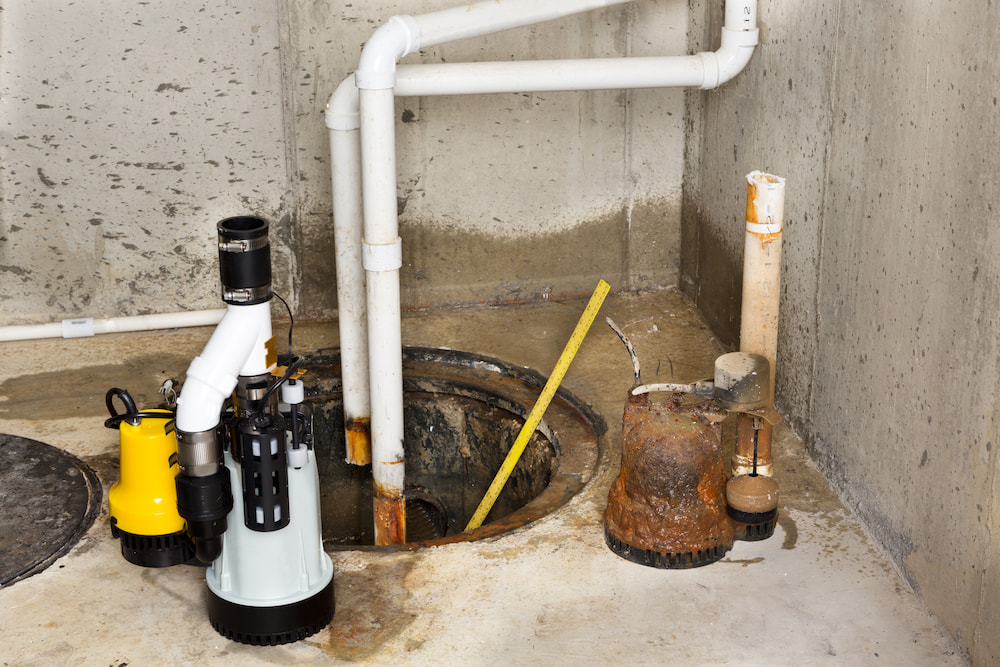
Your sump pump is crucial for keeping your basement or crawlspace dry. But like any other appliance, it will eventually need replacement. When that time comes, you might be unsure if it’s a task you can manage or if you should hire a professional. Understanding the step-by-step process of sump pump replacement can help you make an informed decision.
Signs You Need To Replace Your Sump Pump
Before a sump pump replacement, you need to know your old one is failing. It will give you a few signs to let you know it’s time for sump pump repairs or a replacement. Here are a few of the signs that you need to know:
- Age. The average lifespan of a sump pump is between seven and ten years.
- Runs constantly
- Erratic cycling
- Loud noises
- Frequent clogs
- Stops working
If you suspect you need to replace your sump pump, having a professional plumber make the determination is always a good idea.
Step-By-Step
The process of changing a sump pump involves several steps. It’s crucial to follow these steps meticulously, use the right tools, and always prioritize your safety. Dive into the details:
- Step 1:Turn off the electricity running to the sump pump from the breaker box. Uncover the basin and unplug the sump pump.
- Step 2: Using a hacksaw, cut a piece of PVC pipe that gives you the mobility you need to discharge the sump pump. Connect it to the discharge line and remove the sump pump.
- Step 3: Measure the old discharge line PVC and cut a new piece the same size. These usually are 1 ½ or 1 ¼ -inch PVC pipes.
- Step 4: Locate the discharge outlet on the new sump pump and attach the new PVC tube. Attach it to the male adapter and seal it with purple primer and PVC glue to ensure it’s watertight.
- Step 5: Lower the new sump pump into the basin, making sure that it’s placed properly without touching the walls and free of any tangled wires. You’ll also need to level the sump pump.
- Step 6: Check the float switch to ensure it’s not blocked or interfered with. You also need to make sure it’s at the right height.
- Step 7: Connect the new discharge line you cut and attach it to the male adapter to the pipe.
- Step 8: Turn the electricity back on to the sump pump. You need to fill a large bucket of water to pour over the sump pump. If the test works and your new sump runs, you’re done.
If your new sump pump’s test run fails, you might want to review the instructions again or call a professional.
DIY or Call A Pro?
Of course, we’re a plumbing company and recommend you call a pro. However, it’s about more than drumming up business. Water can be one of the most destructive forces in a home. One minor mistake can leave you with a small leak that grows into a big problem.
With that said, if you feel confident in your DIY skills, it’s possible that you can install a sump pump on your own. You can always call in our team if you feel overwhelmed and enjoy the peace of knowing it was professionally installed.
DC Family Plumbing: Your Partner For Hassle-Free Sump Pump Replacement
Whether you don’t have the time or would rather a professional handle your sump pump replacement, DC Family Plumbing is your trusted partner. Our plumbers have the experience and training to replace a sump pump properly using high-quality materials. Contact us today.
Featured Image: Ozgur Coskun/Shutterstock

